How to Draw a Maze: A Step-by-Step Guide for Beginners
2025-12-09•7 min read•By Qin WenLong
TutorialArtDrawingDIY
How to Draw a Maze: A Step-by-Step Guide for Beginners
There is something deeply satisfying about drawing a maze. Watching a complex path emerge from a blank sheet of paper is not just a creative act—it's a form of meditation.
In this guide, I'll teach you the "Cluster Method", a simple technique used by professional maze designers to create organic, hand-drawn mazes that look incredibly complex but are easy to make.
What You Need
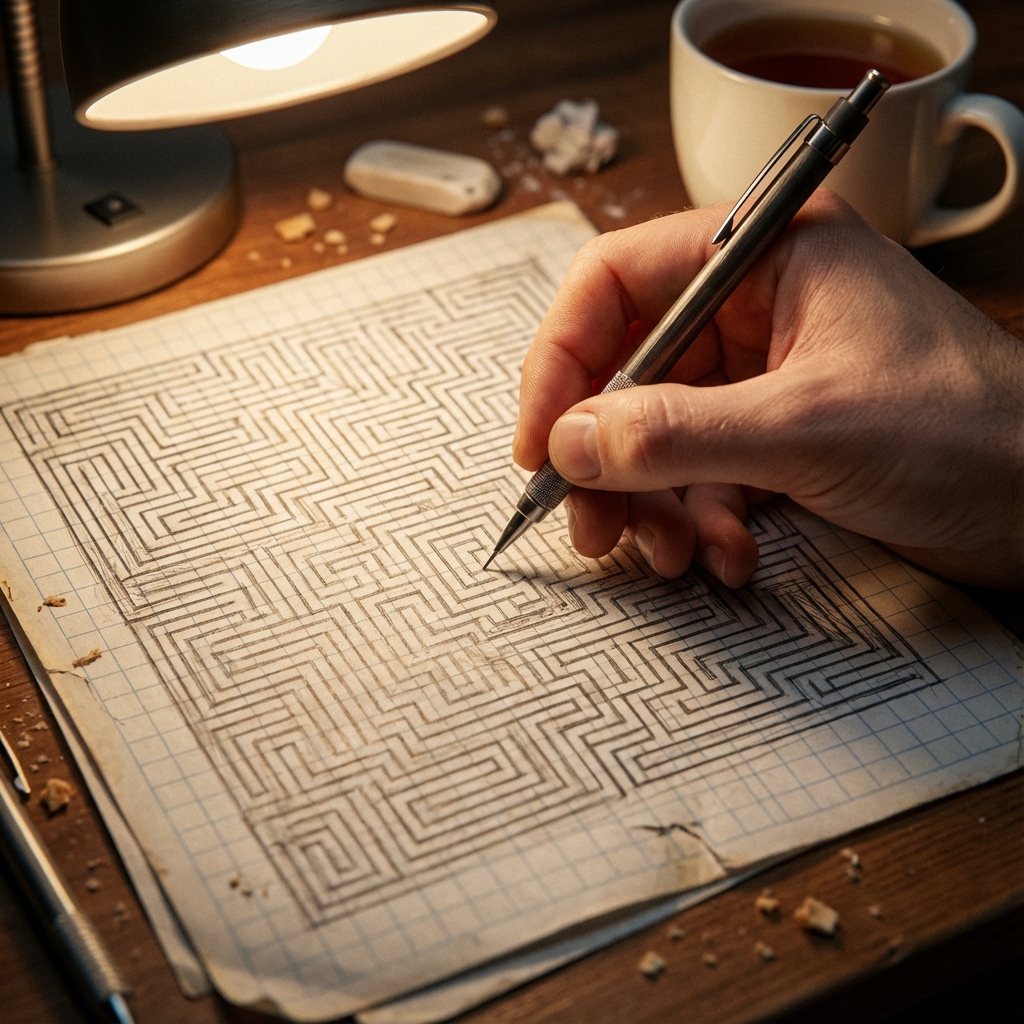
- Graph paper (recommended for beginners) or plain paper
- A pencil (for the draft)
- A fine-liner pen (for the final lines)
- An eraser
Step 1: Draw the Perimeter
Start by drawing a box. This is your boundary. Leave a small gap on one side for the Start and another gap on the opposite side for the Finish.Step 2: Draw the Main Path (The Solution)
This is the secret. Draw the solution first. Lightly sketch a winding, twisting line that connects the Start to the Finish. Make it long and convoluted. This ensures your maze is actually solvable!Step 3: Add False Paths (Dead Ends)
Now, branch off from your main path. Draw lines that twist and turn but eventually hit a wall or spiral into a dead end.- Tip: Fill every empty space on the paper. The denser the paths, the harder the maze.
Step 4: The "Wall-Building" Technique
Instead of drawing paths, try drawing walls. 1. Start drawing a line from the perimeter wall. 2. Wander inwards, making turns. 3. Rule: Never touch another line. If you trap yourself, stop. 4. Start a new wall from another spot.Why Draw Mazes?
Drawing mazes engages your spatial reasoning and fine motor skills. It's a fantastic "flow state" activity that calms the mind.> "A maze is a conversation between the creator and the solver."